Aug 30, 2023
Canine Corner: Blind retrieves, part 3 - The basics of lining
By Tom Dokken, SportDOG® Brand Sr. ProStaff
Presented by SportDOG® Brand
(Originally published in Fall 2023 issue of California Waterfowl)
It’s natural to immediately want to start seeing how far you can line your dog for a blind retrieve. Resist the temptation to set up a challenge that your dog might fail.
In the spring and summer 2023 issues of California Waterfowl, I’ve been laying out the basics of teaching blind retrieves. My goal is to help you build a good foundation and understand the steps you’ll need your dog to master as you build toward a dog that will run or swim as far as needed to pick up a bird that it didn’t see fall.
There are lots of sources such as books, magazines and online forums and videos for retriever owners who want to get deep into the details of this topic, and I encourage you to look into them because there’s just so much I can cover in this column. But again, if you’re new to this you need to start somewhere, and I hope this four-part series helps to motivate you.
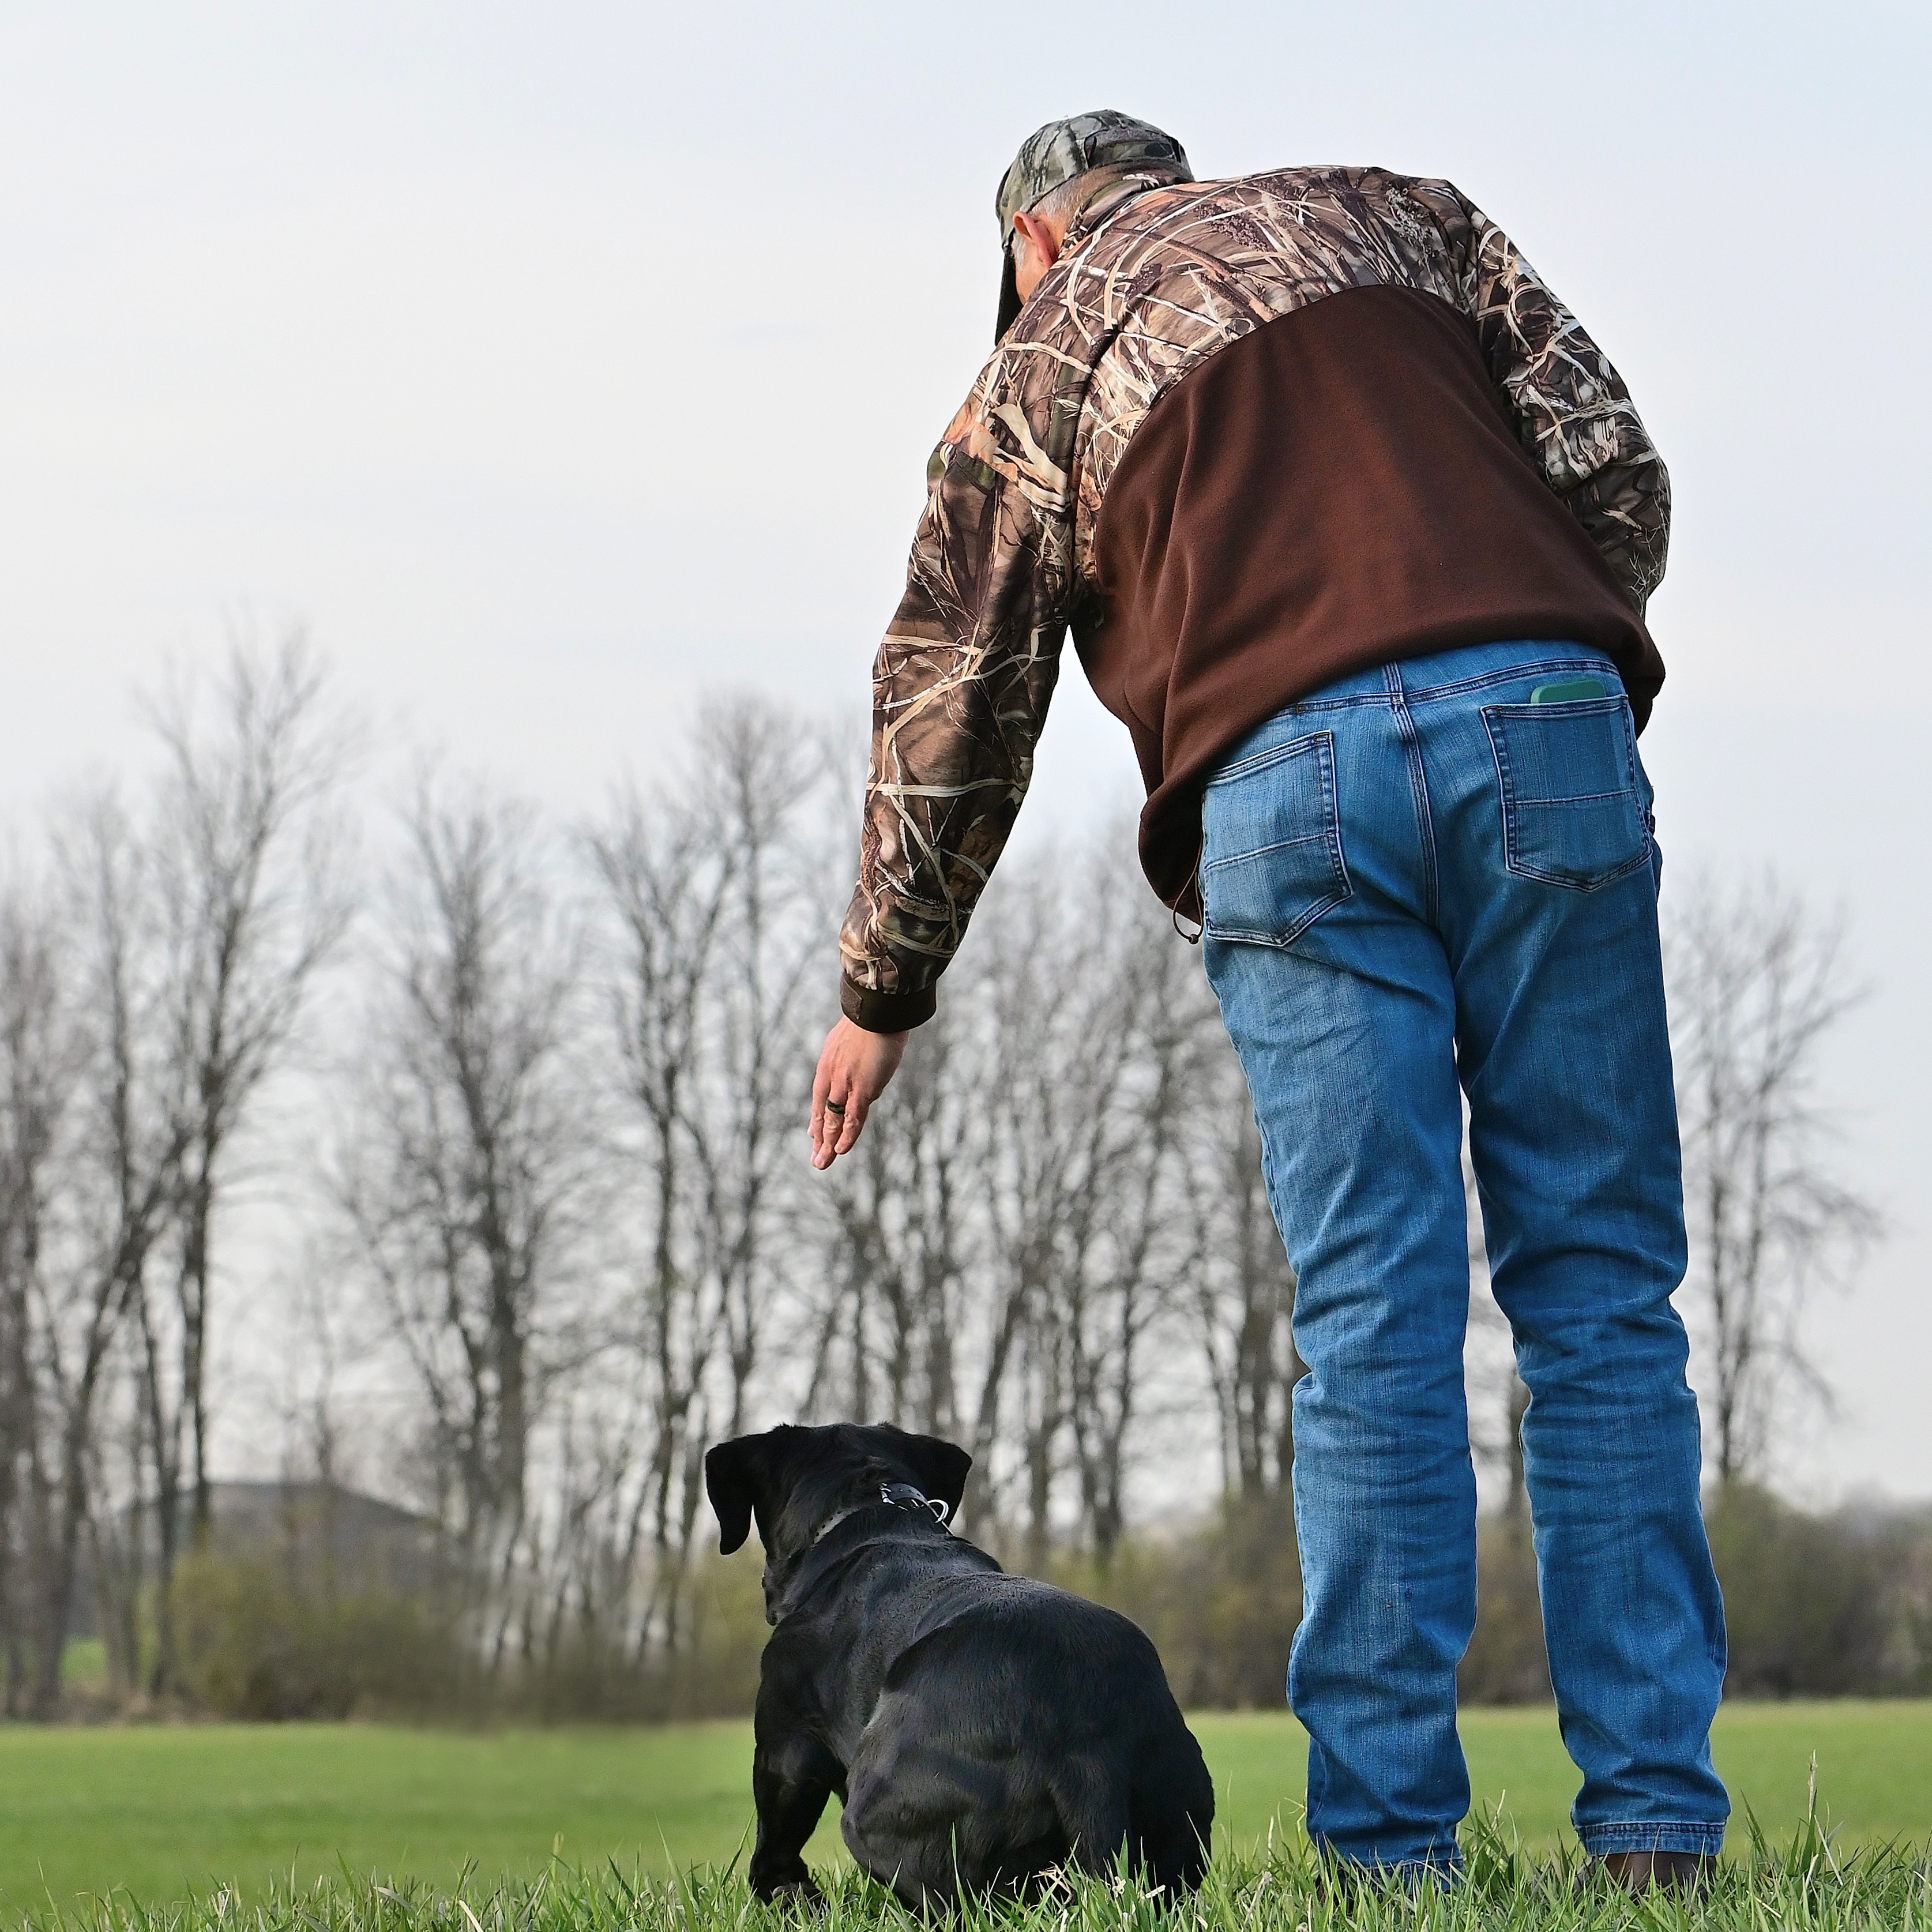
Here in Part 3, I’m going to cover the basics of lining. That means you’re sending your dog from the heel position to pick up a stationary object. In a hunting situation, you want to be able to line your dog to a bird that it didn’t see fall.
As you start to work on lining drills, you should be confident your dog is solid on obedience and doing well on single retrieves. Just as importantly, let me reiterate what I said in the summer issue: “[Regarding force-fetching] … For the purposes of this series of articles, let’s just say that your dog must have the desire to pick up whatever object you direct it to pick up. Otherwise, your lining drills are probably not going to go well.”
Starting out
It’s really exciting for a retriever to see a bumper or bird tumble out of the sky. What’s most certainly not as much fun is running out to pick up a bird without the benefit of that initial adrenaline rush of seeing it fall. So, in the early stages of lining drills, we’re going to help things along by making sure your dog has a good visual on the bumper.
The next steps all take place on short, mowed grass to allow good visibility. I’ll refer to points on a baseball field to describe how I start a young dog on its initial lining drills.
First, I walk my dog at heel from the pitcher’s mound to second base. The distance between these two points may be anywhere from 10 to 30 yards, depending on how confident I am in the abilities this particular dog has shown so far. At second base, I drop a white bumper. What’s important here is that the dog sees me drop the object. I then heel the dog back to the pitcher’s mound and have it sit at heel facing second base.
With the dog focused on the white bumper, I put my hand down directly over its head, creating an imaginary line between the dog and the bumper, and calmly say, “Dead bird.” When I’m sure the dog is still focused on second base, I give a calm but firm “Back” command. I’m now establishing trust that when I put my hand down, it’s time to get ready to take a line whether the bumper/bird is visible or not. Because we worked on Back using the Place boards in earlier sessions, there will be no doubt in the dog’s mind that the positive command, “Back,” means it’s time to move.
If all goes well, I’ll expect my young retriever to charge out and scoop up the bumper with enthusiasm. When my dog returns, I bring it to heel, take the bumper and then lay on lots of praise. From this point forward, I really focus on determining how quickly my dog is or isn’t catching on. I want lots of success over and over at this stage. This isn’t supposed to be a test or difficult challenge. Therefore, I don’t get eager to immediately start stretching the drill to long distances or trying to hide the bumper. If things are going well, maybe by the end of the first lesson we’re starting all the way back at home plate. If not, maybe we repeat the drill from the pitcher’s mound to second base. Remember (and this is a good rule no matter what type of training you’re doing) to end the lesson on a high note while your dog is still eager for more.
Reinforcing lessons learned
Once I know my dog is solid with the concept of lining out upon the “Back” command (which could mean one lesson or several based on my assessment of how quickly the dog is “getting it”) I always return to the same location for the next lessons. Repetition in a familiar environment builds confidence.
My next set of drills is similar to the first, but now I’ll add some variables. For example, after walking out to second base and dropping the bumper, instead of walking a direct line back toward home plate, I might heel the dog over toward first base and then cross the field toward third base, and then come back and stop somewhere between home plate and the pitcher’s mound before lining up to send the dog for the retrieve. This is a check on my dog’s memory and focus. I’m still using a white bumper, but now I’m introducing a little time delay and varying the routine.
After a few sessions with success, I’ll go to the next step, which is to leave my dog in the truck while I walk out and drop the bumper at second base. Then I let the dog out, heel it to my established starting spot, and go through the routine: Hand down … “Dead bird” … “Back.”
If all goes well, I know I’m successfully bridging a gap. My dog no longer needs the excitement of seeing a bird fall, and it doesn’t need to see me drop the bumper in a certain location. My dog is learning to trust that when I put my hand down and then command, “Back,” it means it gets to retrieve something.
Building upon success
It’s natural to immediately want to start seeing how far you can line your dog for a blind retrieve. Resist the temptation to set up a challenge that your dog might fail. If you follow these next steps, you’ll be extending distances pretty quickly.
With the concept of lining now firmly ingrained, you can work on a drill called “lining to the pile.” Once again, use your mowed field and white bumpers. But now, instead of one bumper, you’re going to place five or six of them out at second base. Bring your dog out and walk it at heel to the pitcher’s mound and send it for its first retrieve. While it’s on the way to the pile, take several steps back toward home plate. When your dog returns, line it up again. The next send will be a little farther. As your dog lines out to the pile, take another several steps back.
As you stretch the distance, if your dog hesitates or starts to meander on the way to the pile, don’t get discouraged. Move back up to a shorter distance that ensures success.
The next big step is going to be getting your dog to run a line to pick up a bumper that’s completely hidden. This is what’s referred to as a “cold” blind. In the winter issue, I’ll cover the introduction to cold blinds and give you some tips on how to continue building blind retrieve skills that will make your duck dog more valuable than ever.


